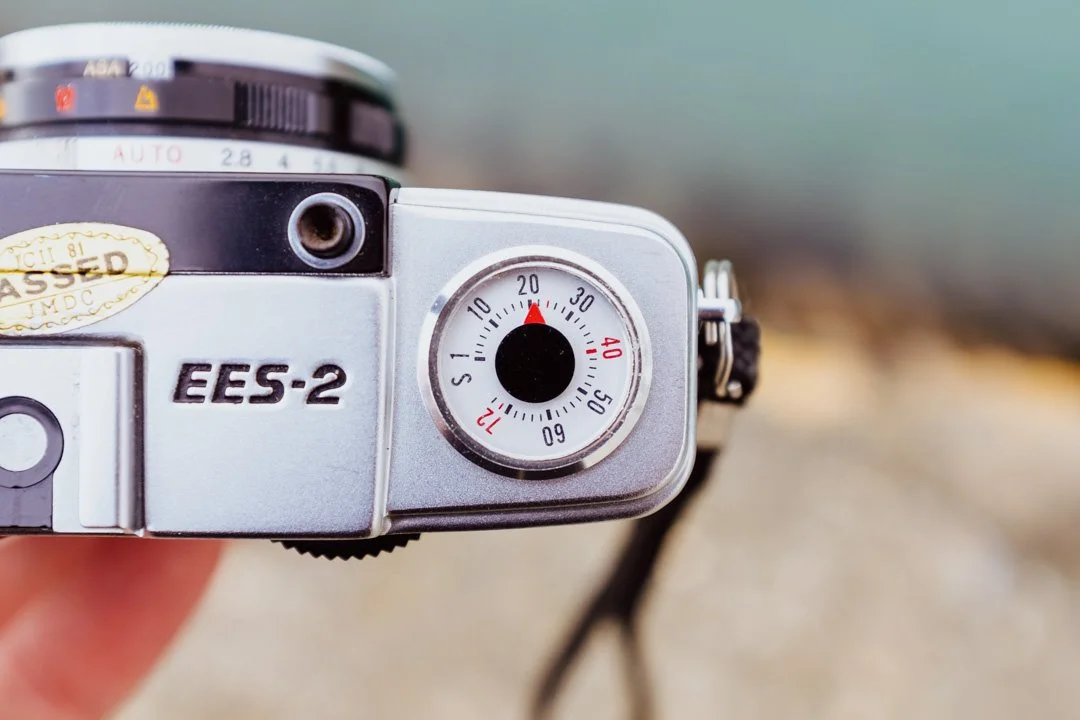
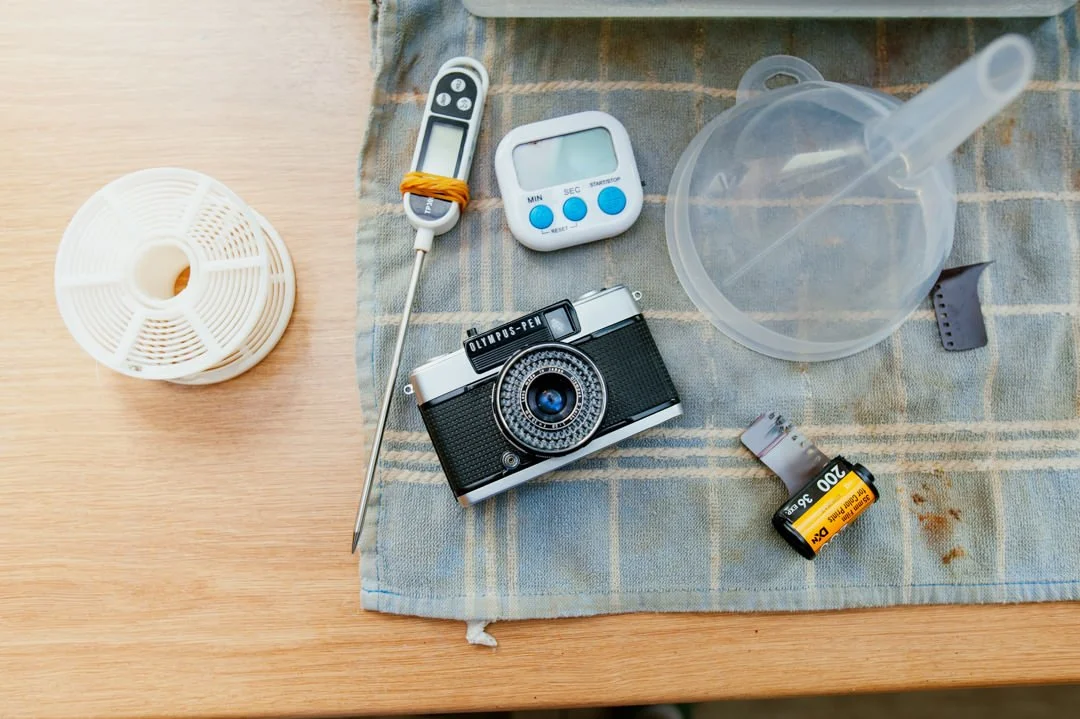
Olympus PEN EES-2 Half frame film camera.
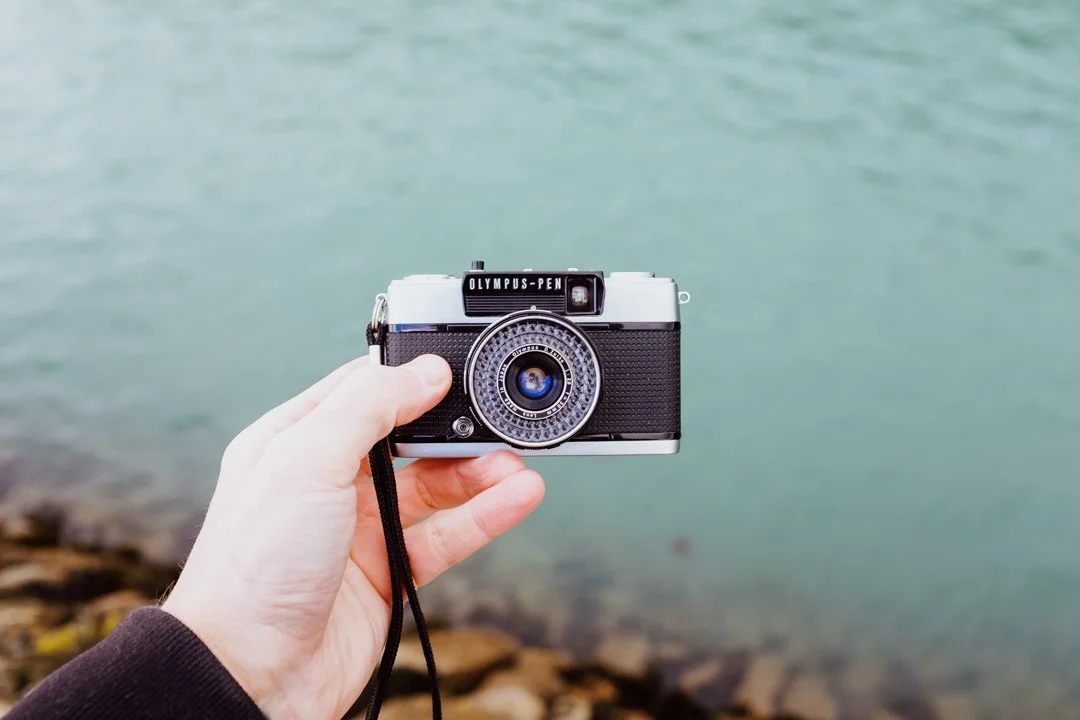
Now if you have landed on this page you may have been searching online for half frame film cameras as your curiosity for film pulls you in different directions or it was just luck. On this page I wanted to give a little hands on with using the Olympus PEN EES-2, and searching online is how I found this little point and shoot. Shooting film can get expensive so with a half frame camera you will be able to shoot two images across the same amount of film as what one full frame would use up, great for saving money and getting more photos along the way. This blog is not a full review, its a short hands on with some example’s attached, and hopefully just enough to explain to you what this camera is incase you are thinking of purchasing one.
Something to mention : I self developed the Kodak ColorPlus in c41 developer that was 3 months old so I took a risk with this, also the only two times I have used this camera where on dull, UK, eternal winter days. The lack of light wasn’t great, and I have learnt point and shoot cameras need lots of it unless using a flash. I picked this camera up on eBay for £61 as fully functioning and very good condition.
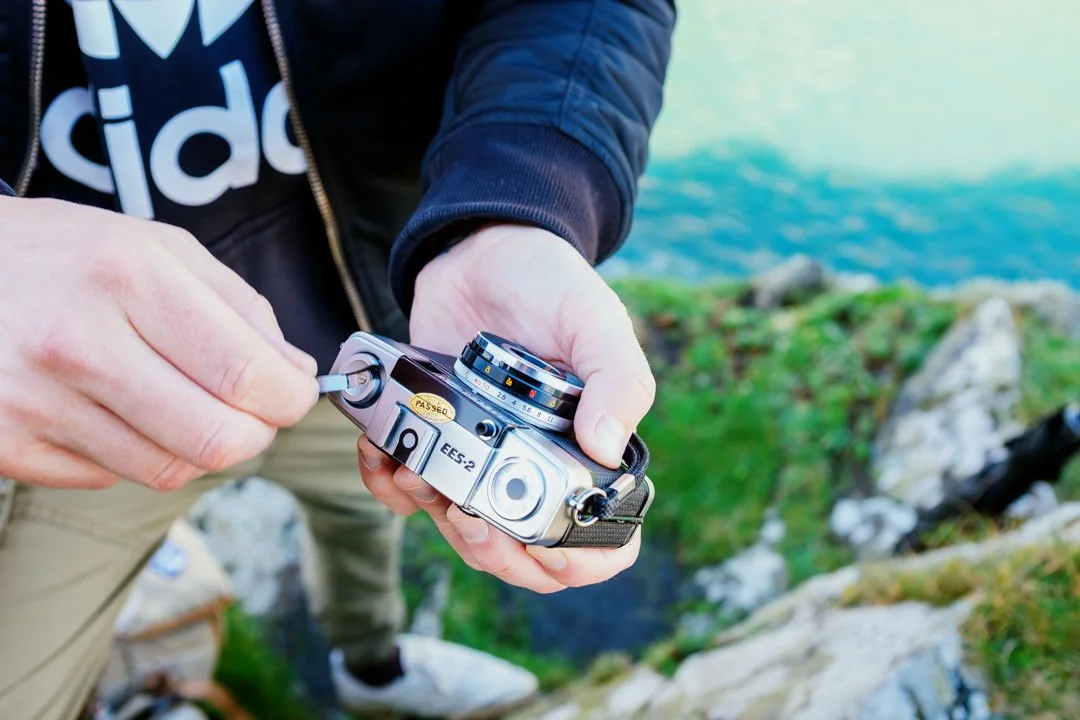
All photos of the camera were taken on my Fuji x100f.


What are half frame photos?
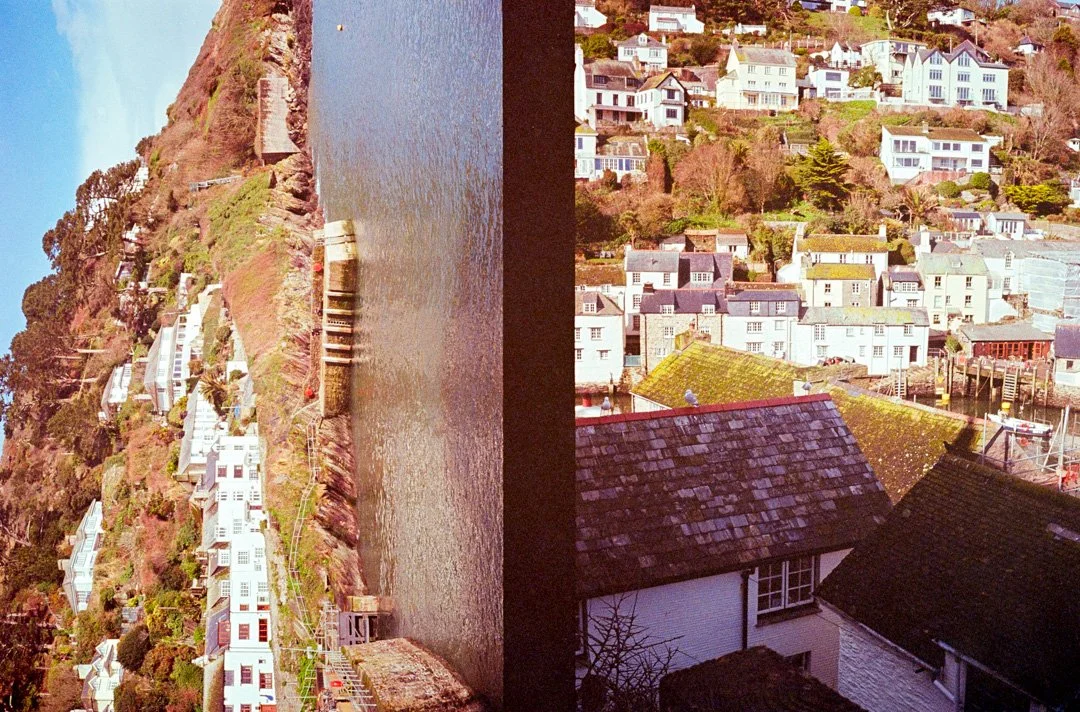
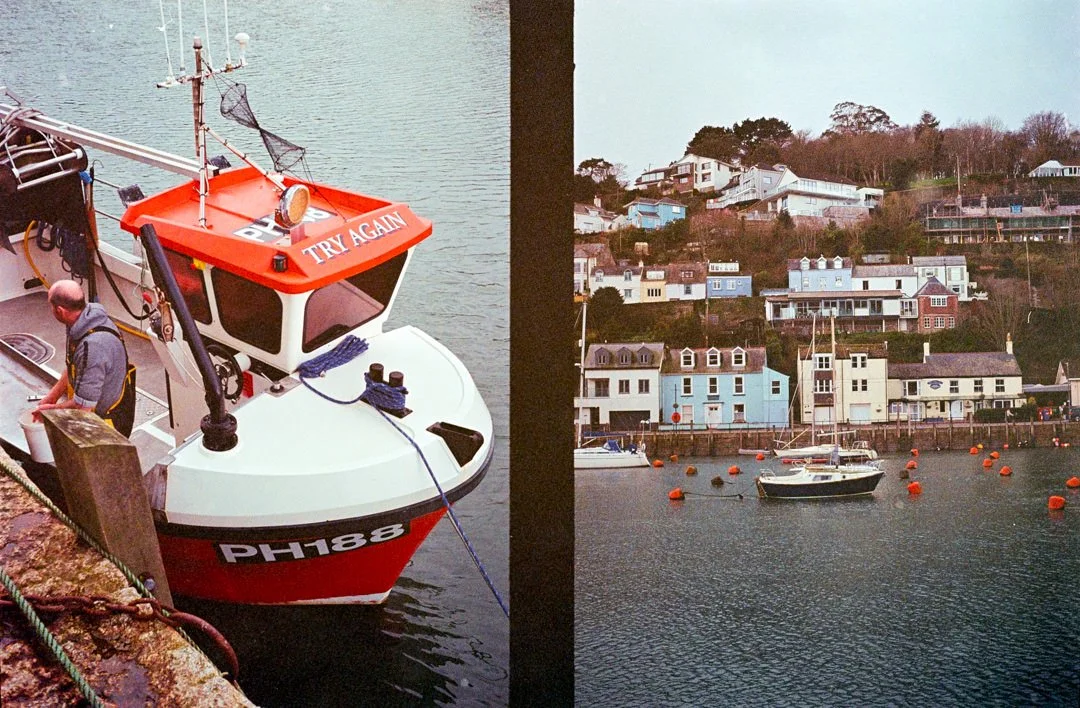
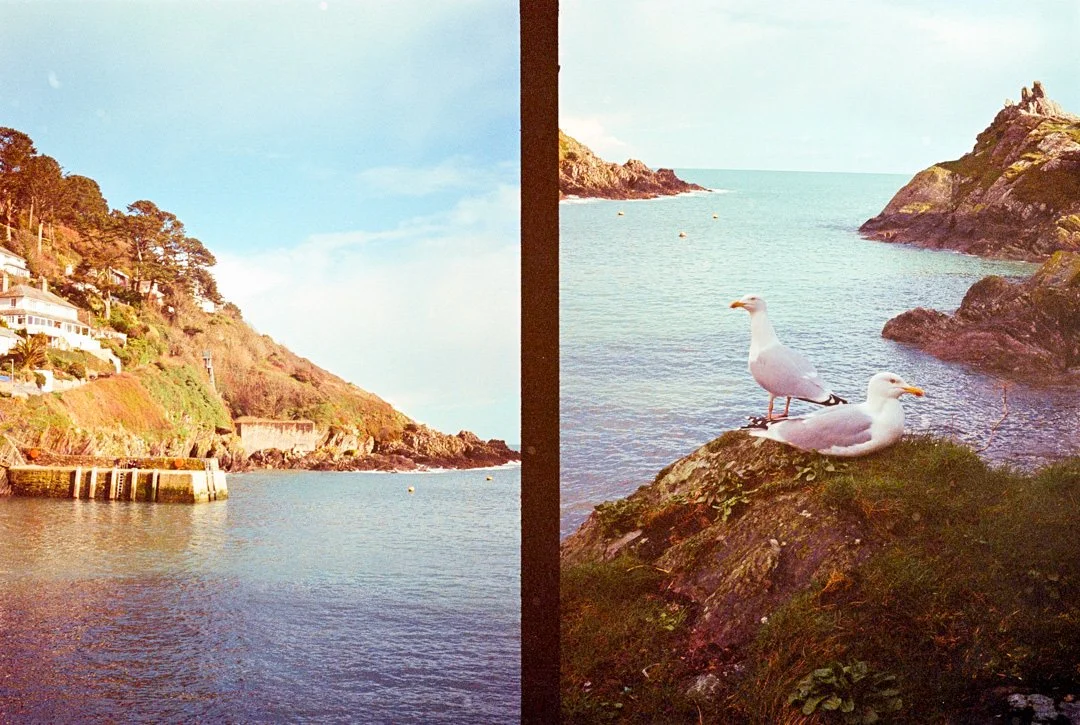
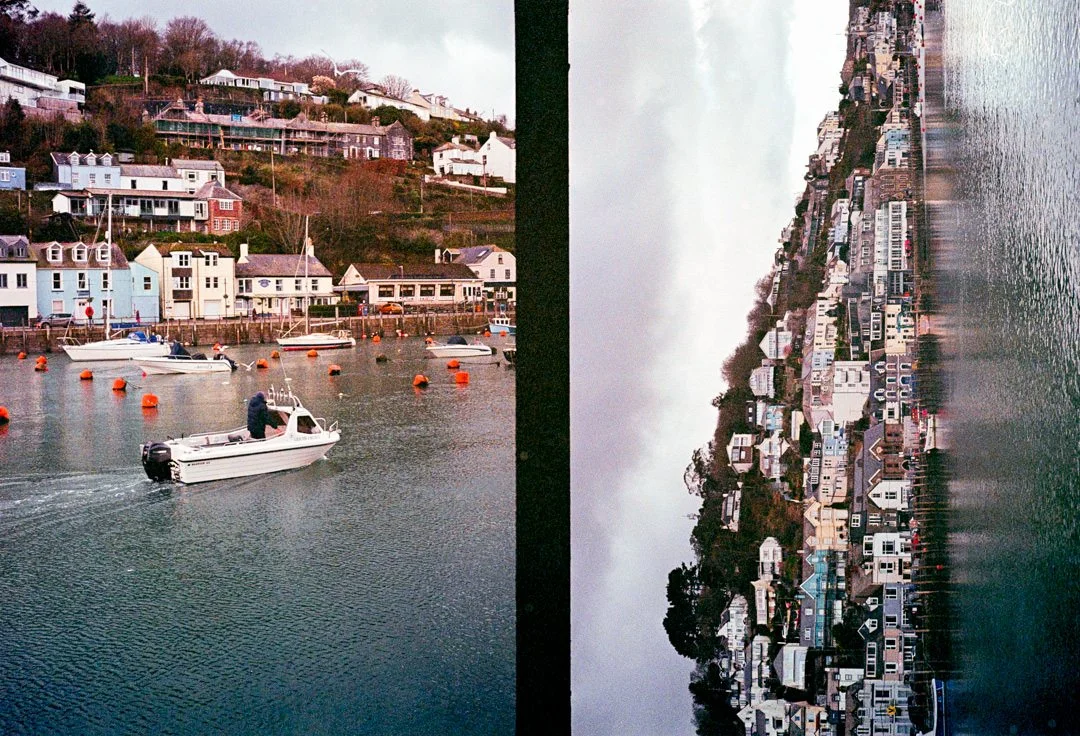
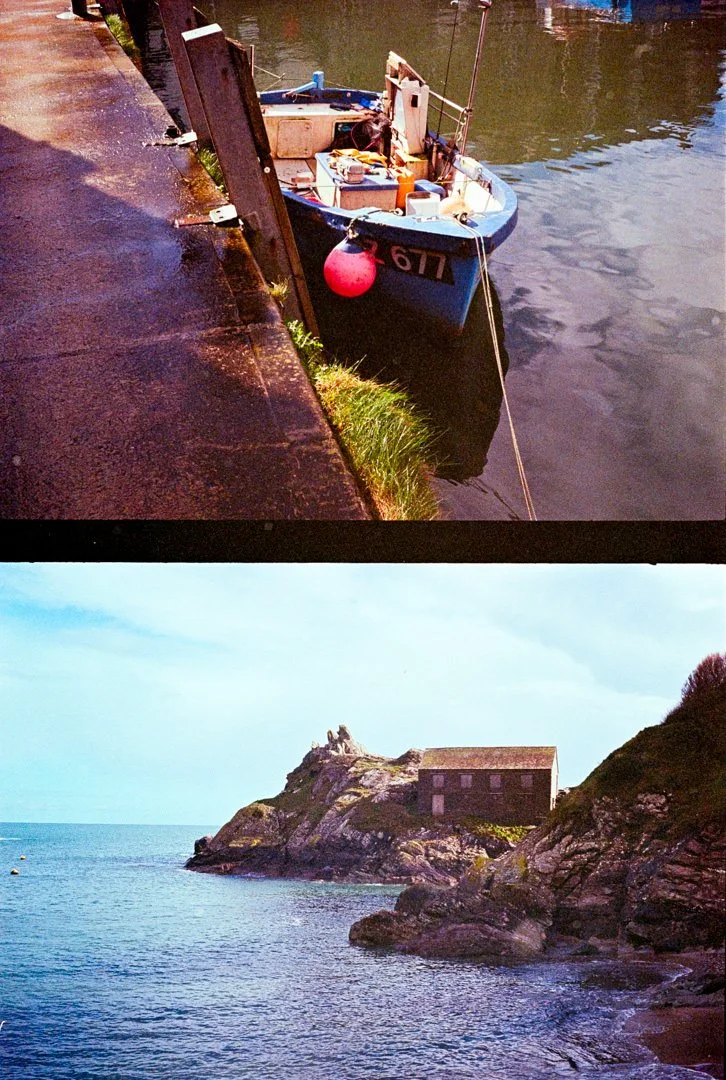
The great thing about half frame photography being able to get twice a many shots on a roll of film. For eg if you load a roll of 36 exposure film you will get 72 half frames, load it really well and you can get a few more. A standard a 35mm full frame image sits 3:2 horizontally, but when taking a half frame image each frame sits 2:3, so when taking a photo and holding the camera upright the frame sits portrait orientated. This is how the frames are placed across the film. Shooting a landscape image you will have to rotate the camera sideways. The above image shows two images across a full frame ratio. When converting the scans in Lightroom you will have crop and select each photo and convert individually, or the conversion software will try to analyse the whole frame. You can then crop back to display the two images together. Problems can occur when two images side by side are taken with two completely different light and colour values. You will also see on the image below the film counter from 1-72.
Scanning the film & resolution.
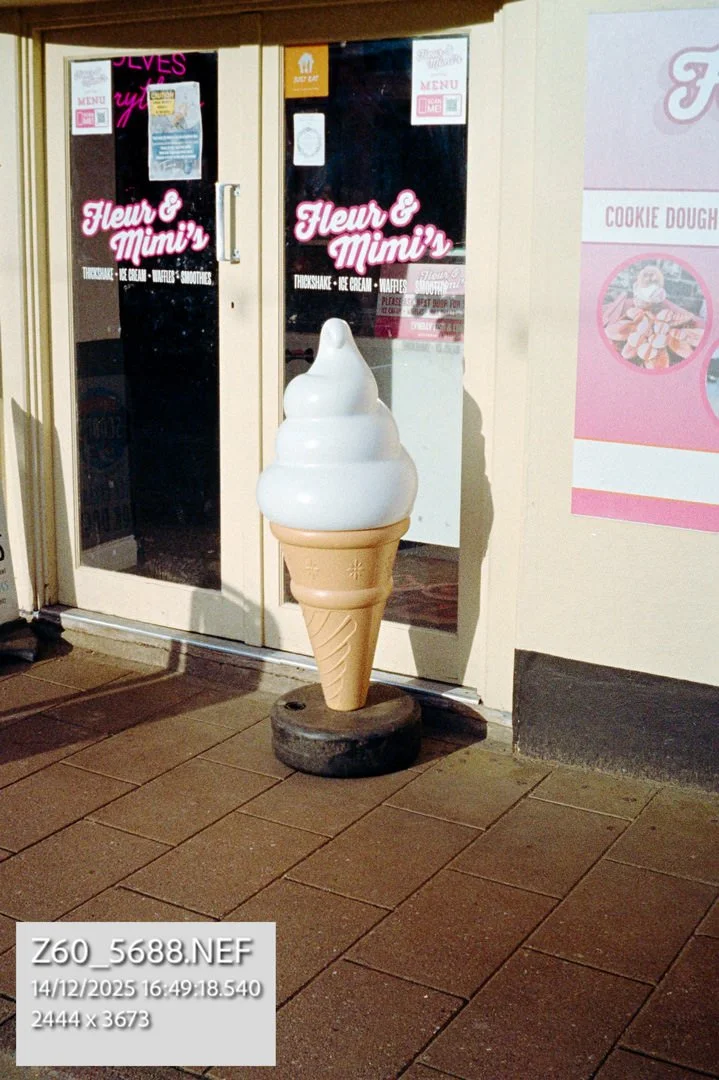
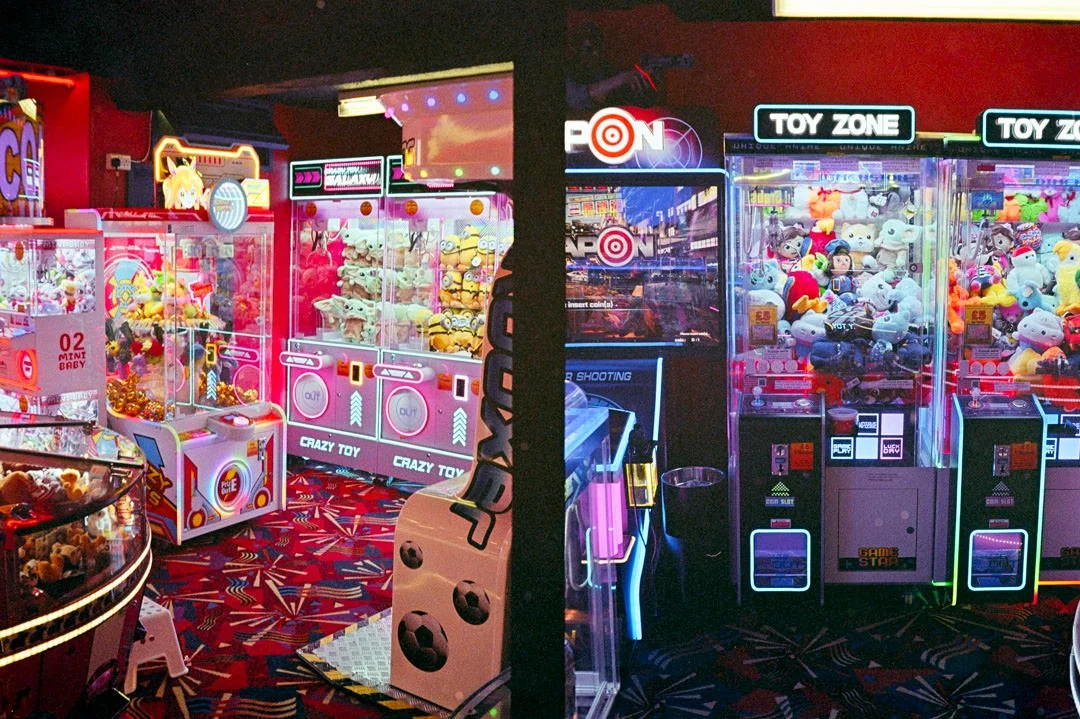
When scanning the film I choose to scan two images together, as they are side by side it's the same as scanning one 35mm full frame image. You could with the macro lens shoot each one individually closer if you choose, but this will consume more time. With the image of the ice cream promo above I have added the resolution of the edit I was left with after cropping the rest of the frame away. It was scanned on a Nikon Z6 at 24MP. So the result : 2444 × 3676 px, leaving me with a 8.9MP image. Plenty for posting and displaying online and even printing for display at home. Scan this is on a 48MP or larger sensor and this will increase your pixel count. One thing to note when scanning is film grain - when scanning for eg iso 400 film the grain will appear larger due the ratio of grain compared to the area of the image. ISO 100-200 is most favourable for keeping this down.
Focusing with the Olympus PEN EES-2
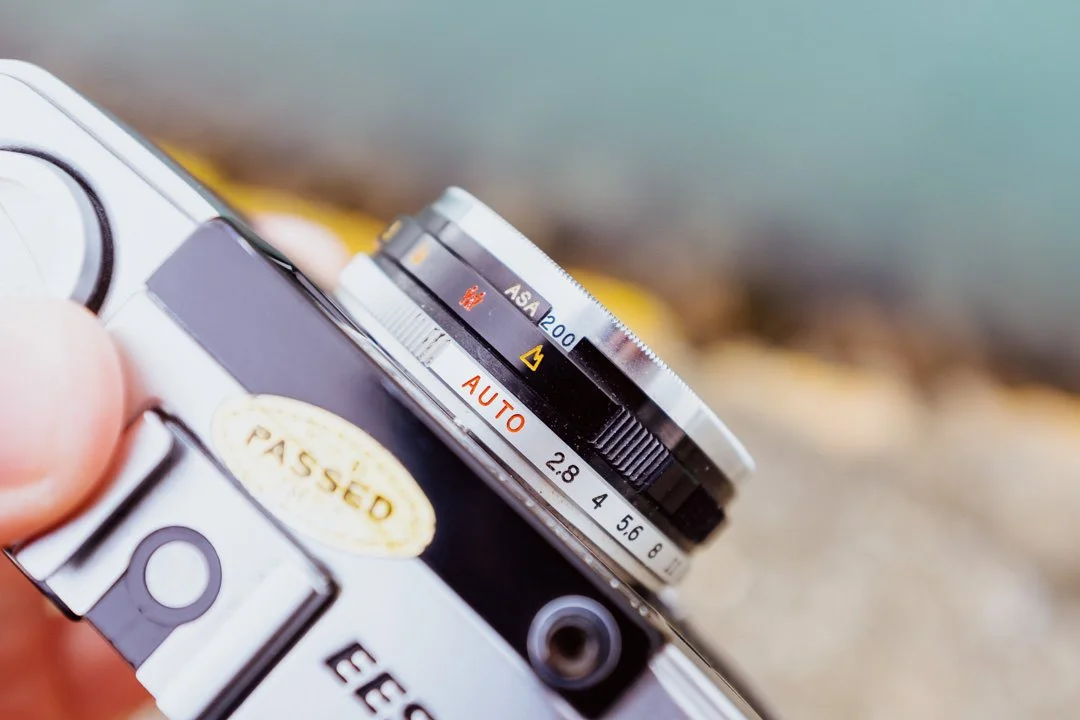
Im going to not go nuts with camera specs, so i’m going to keep this post simple and mention the main points of how this camera works. Focusing an image is something we all want to get right and this camera doesn’t have ability to auto-focus. Instead it has what is called - zone focusing. At the middle of the lens you can turn a dial through 4 settings. The zones are set at 1 meter, 1.5 meter, 3 meter and infinity. They are represented by symbols with infinity as a little mountain. I found most of the time I had it set to this for landscapes and with this you know you are safe. When taking photos of people or objects close up you set the dial to the corresponding distance and shoot. Hopefully this will let you enjoy the 2.8 aperture lens fixed to the front. For me, the hardest part is remembering to switch it back before the next shot - and I mean hardest.
ISO settings
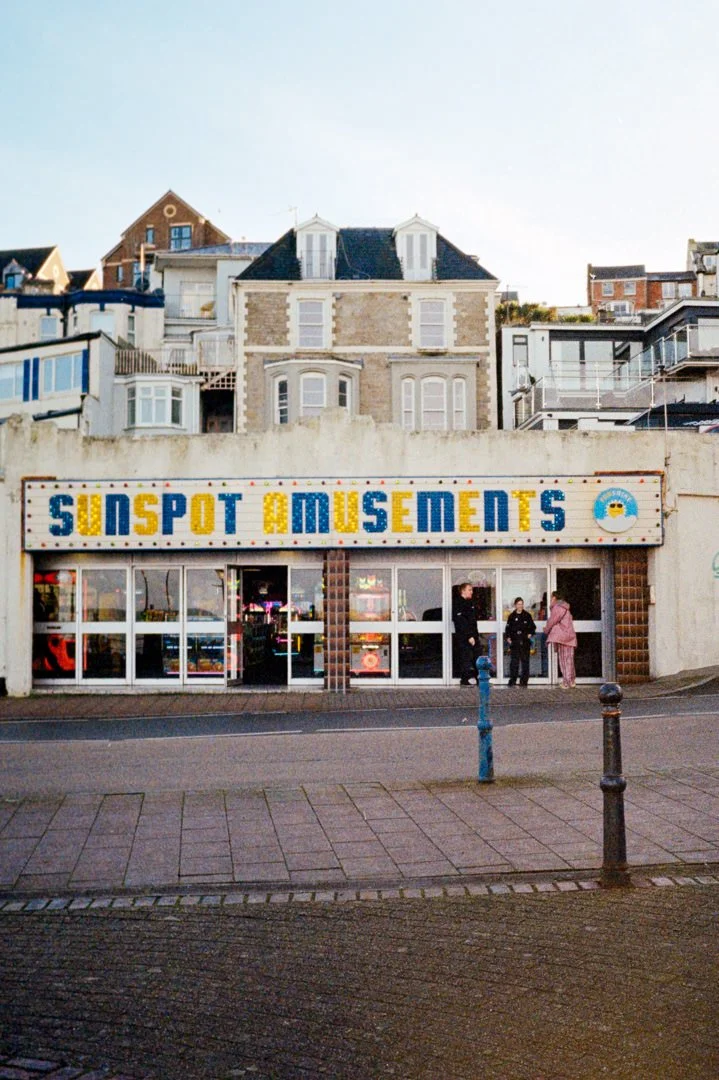
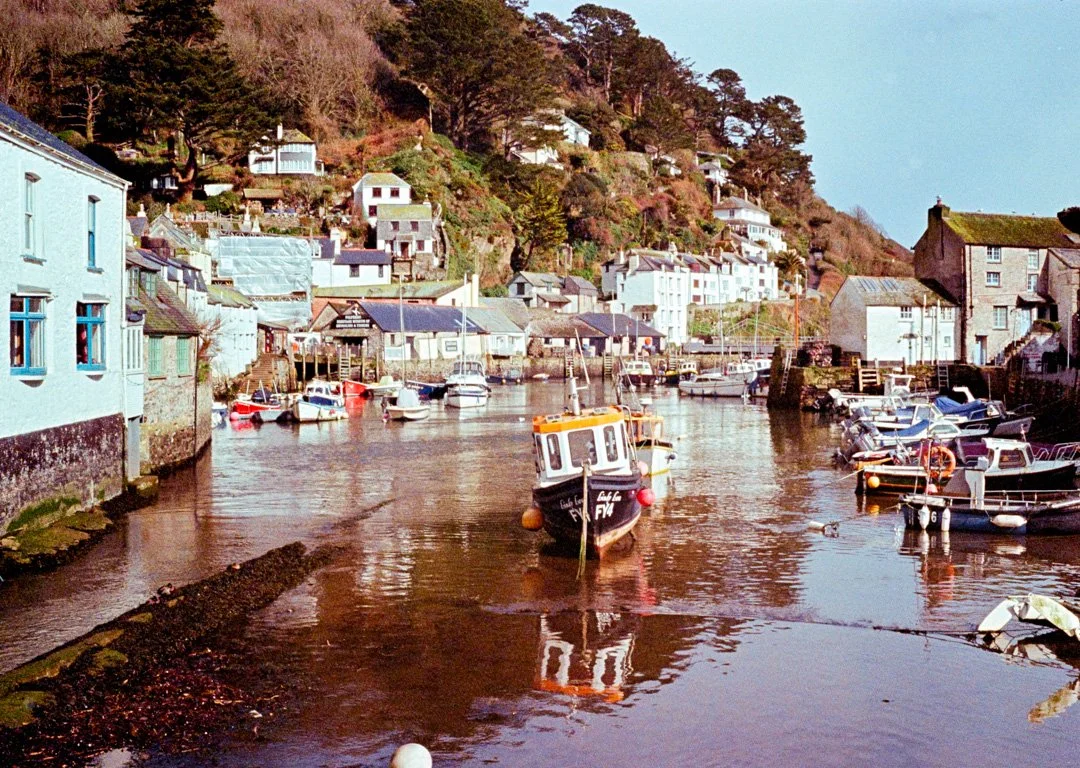
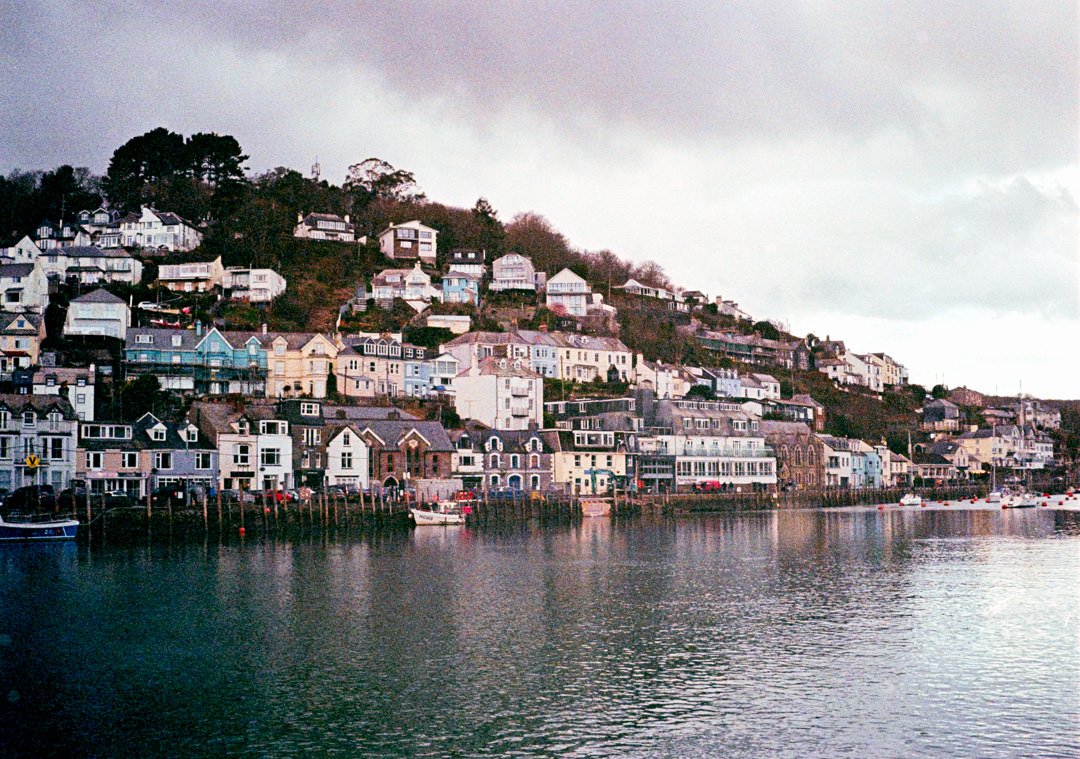
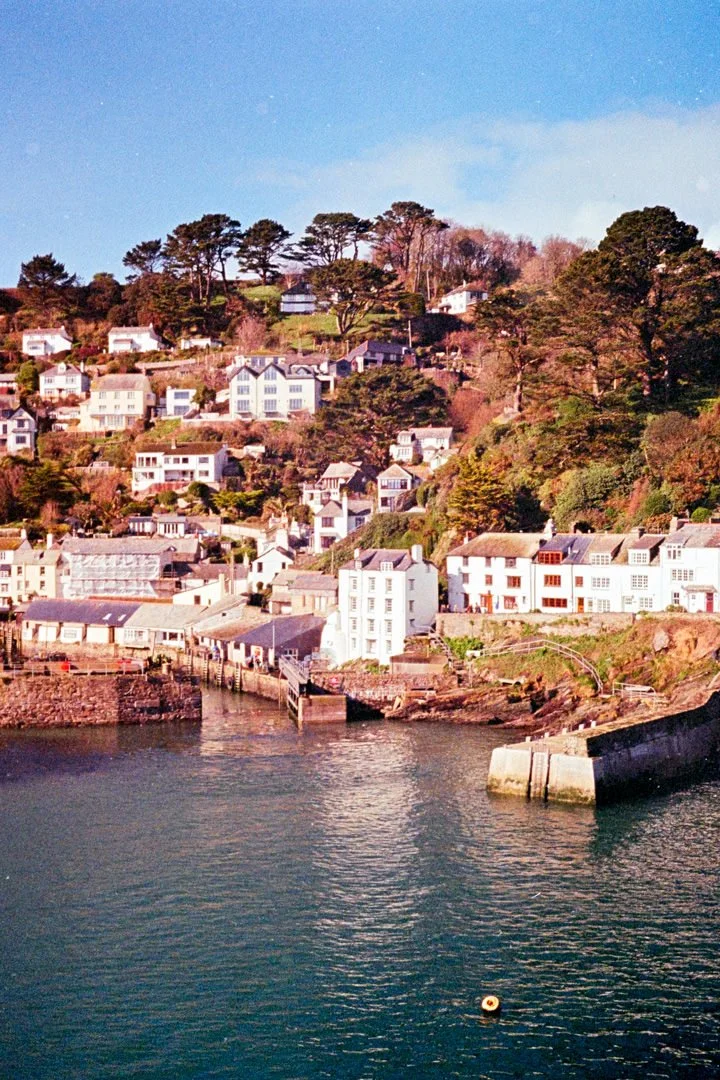
With this little film camera you also have a dial on the very front where you manually set the ISO, this tells the light meter built around the lens how to judge its exposure. The film I had in was Kodak ColorPlus iso 200 that I think was a year expired. The image above you will see a landscape of the harbour and small sea wall on the left of the frame, with this photo I remember turning the ISO dial to 160, telling the camera to over expose by one third of a stop to help bring out the details in the land and shadow areas. This is handy as the camera doesn’t have exposure compensation. The ISO range with the Olympus PEN EES-2 is 25 - 400. There is no DX coding to read the film canister.
The half frame “Diptych”
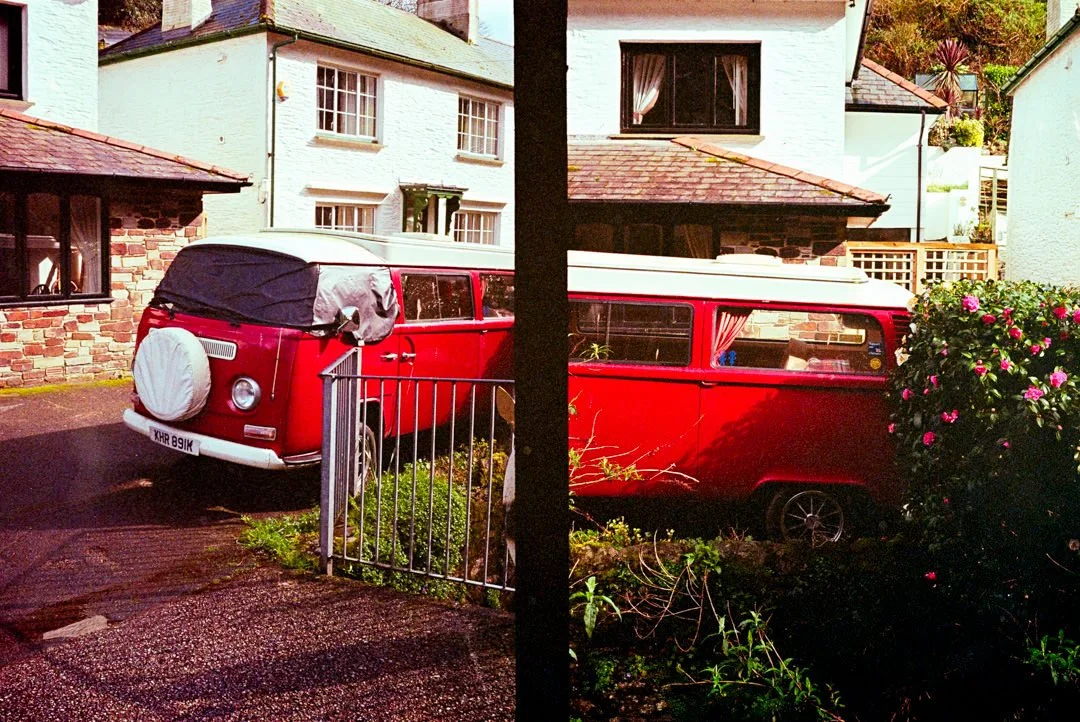
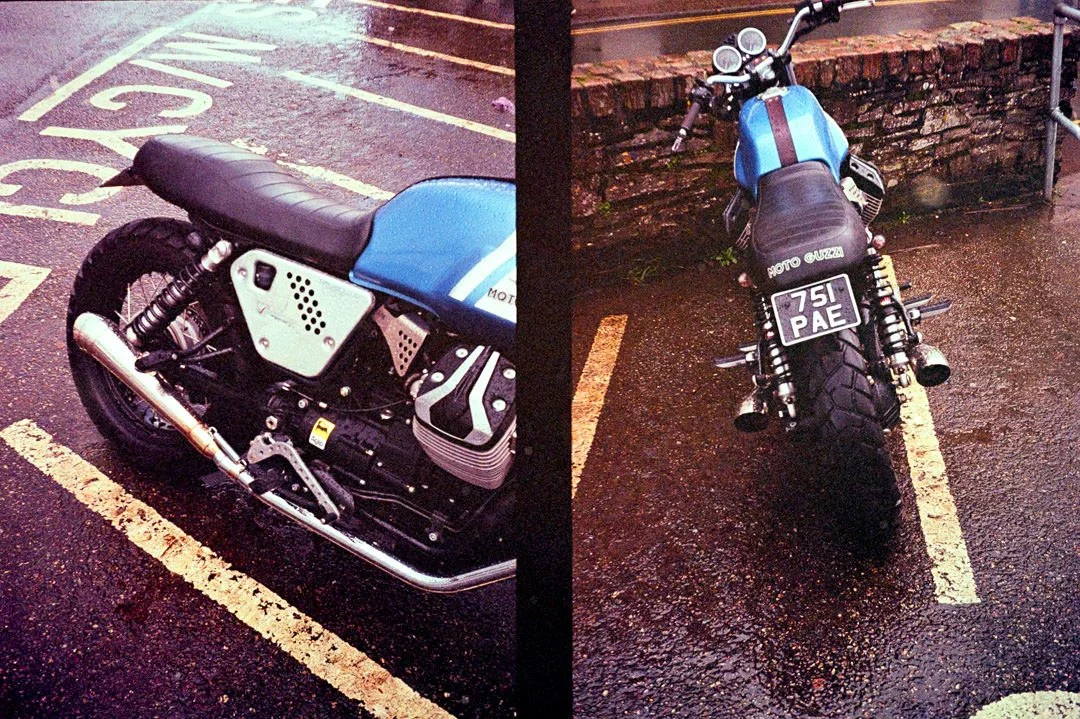
Ok what is that!? Well something that is well known, and with all the hipster, beanie wearing, I’m published bio, dolomite chasing, youtube channel don’t forget to like, preset selling shooters - is what’s called a diptych. This is where you shoot two photos of the same subject across the one frame, giving you more resolution when cropping back to both images and also keeing the exposure values similar. I had a go here with the motorcycle parked up in the street and the red camper van. Some cool techniques I have seen is where you shoot two halves of the same thing across the two frames.

Options and flexibility
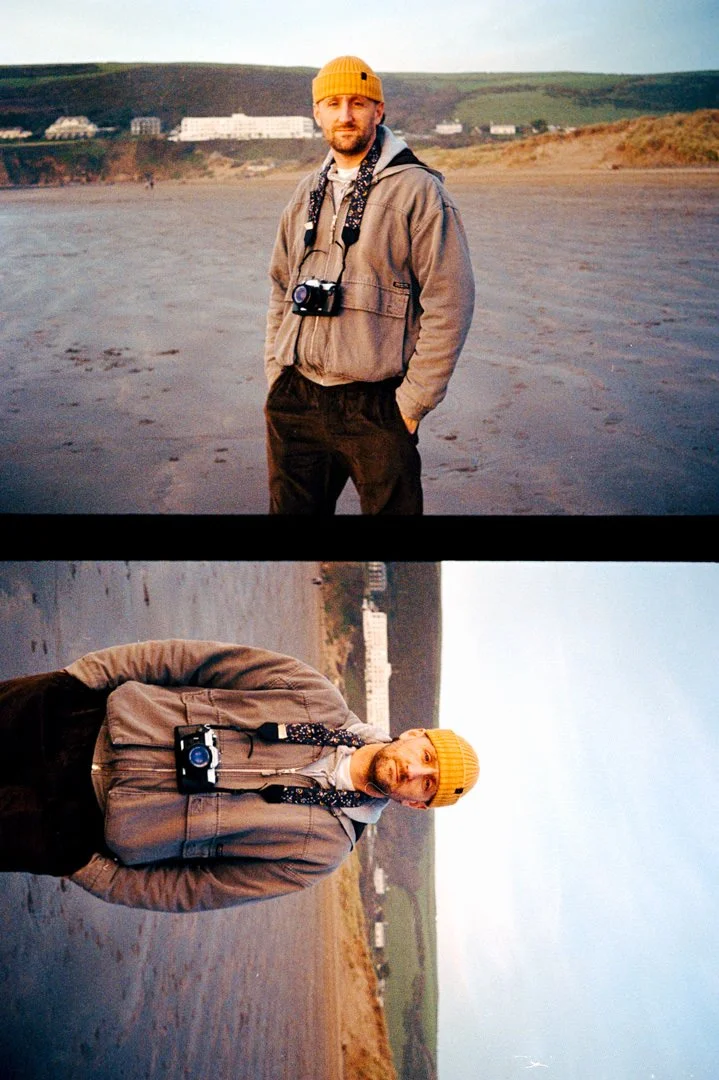
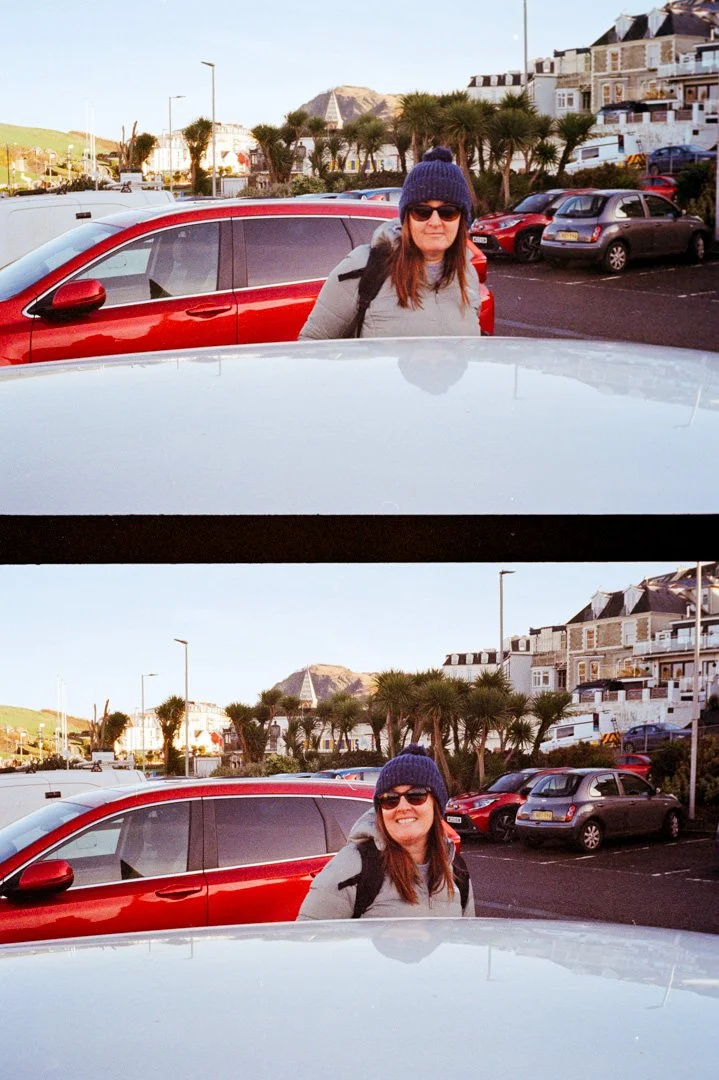
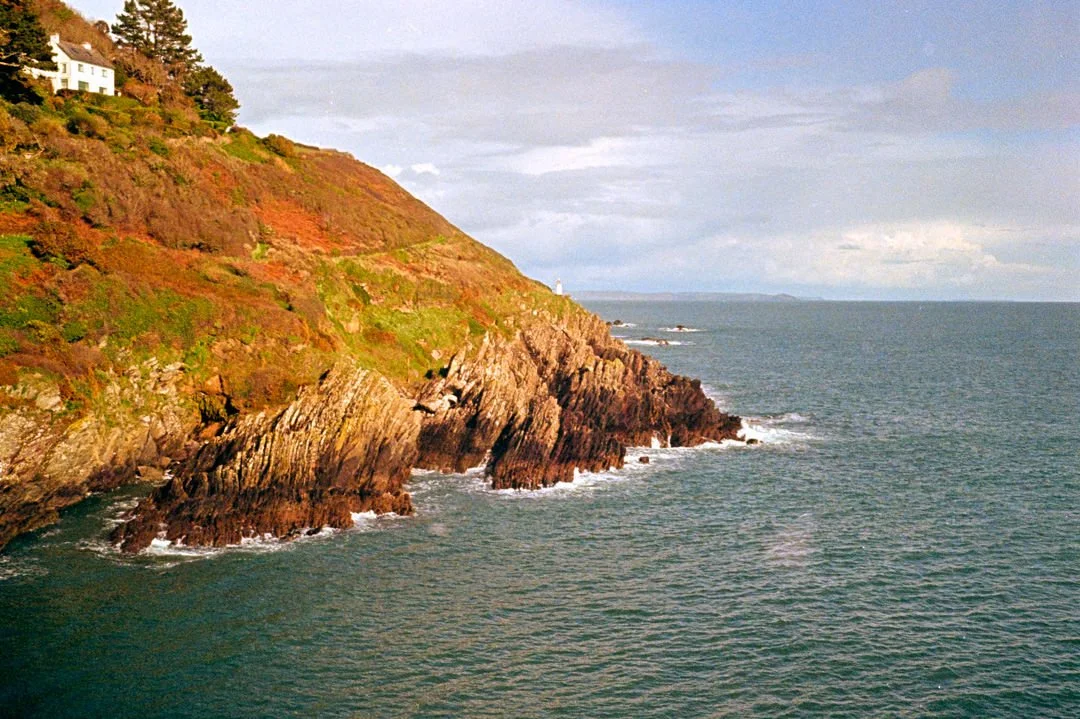
The images above and below this text are from the same scan. What I have done here is select the image on the right hand side of the scan, then cropped it away and rotated it, leaving the image below. As the two photos were taken a few seconds apart the conversation software was able to handle it well, treating it as one image. This saved me time as I didn’t have to analyse each frame with Negative Lab Pro. You could be more meticulous if you wanted and separate the two as different files.
Some of the camera specs.
Although a very basic load and wind camera there a few specs worth noting.
Format - 35mm Half-frame 18×24 mm), yielding 72 shots on a 36-exposure roll.
Shutter speeds - 1/40 sec or 1/200 sec (automatically selected)
30mm f/2.8 D.Zuiko (4 elements, 3 groups) lens.
Exposure programmed automatic; selenium cell meter.
Aperture Range : f/2.8 to f/22.
Manual zone focusing (4 positions: 1m, 1.5m, 3m, ∞
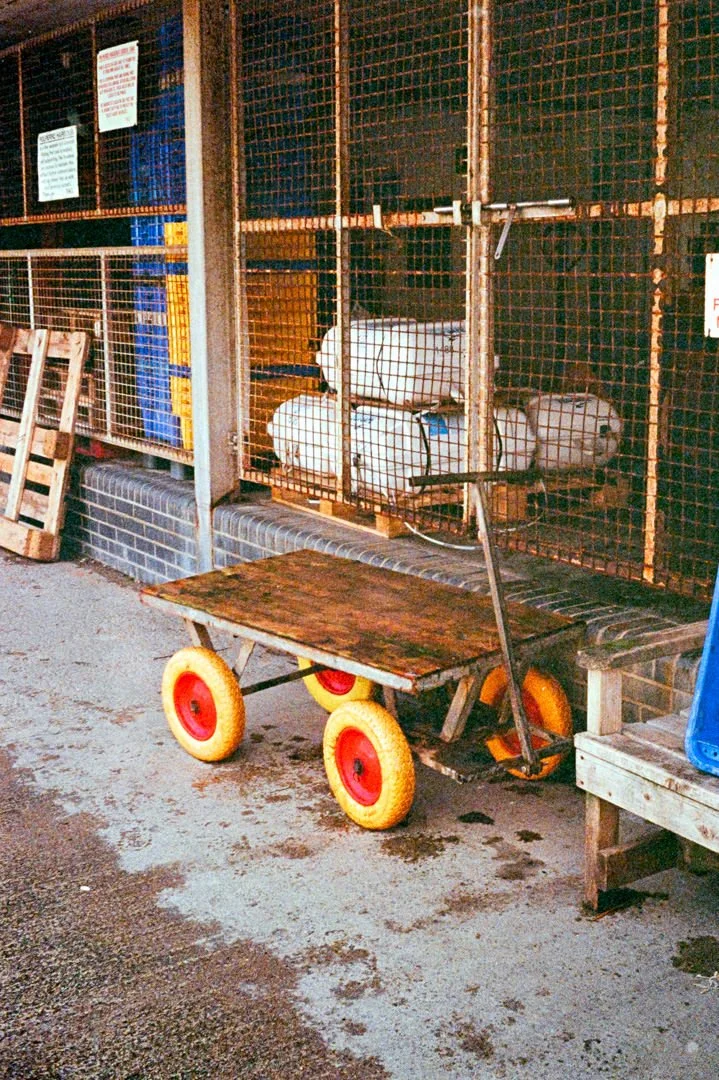
Something that I really like about this camera is its size and portability, it can slide into a jacket pocket easily and only weighs 370g. I’m looking forward to getting out with this camera again during the summer with better light, I feel I was held back by poor conditions to be using a point and shoot camera. For wedding photography it could be great with a roll black and white film as it's so quick and easy to use and it barely makes a noise with its leaf shutter.